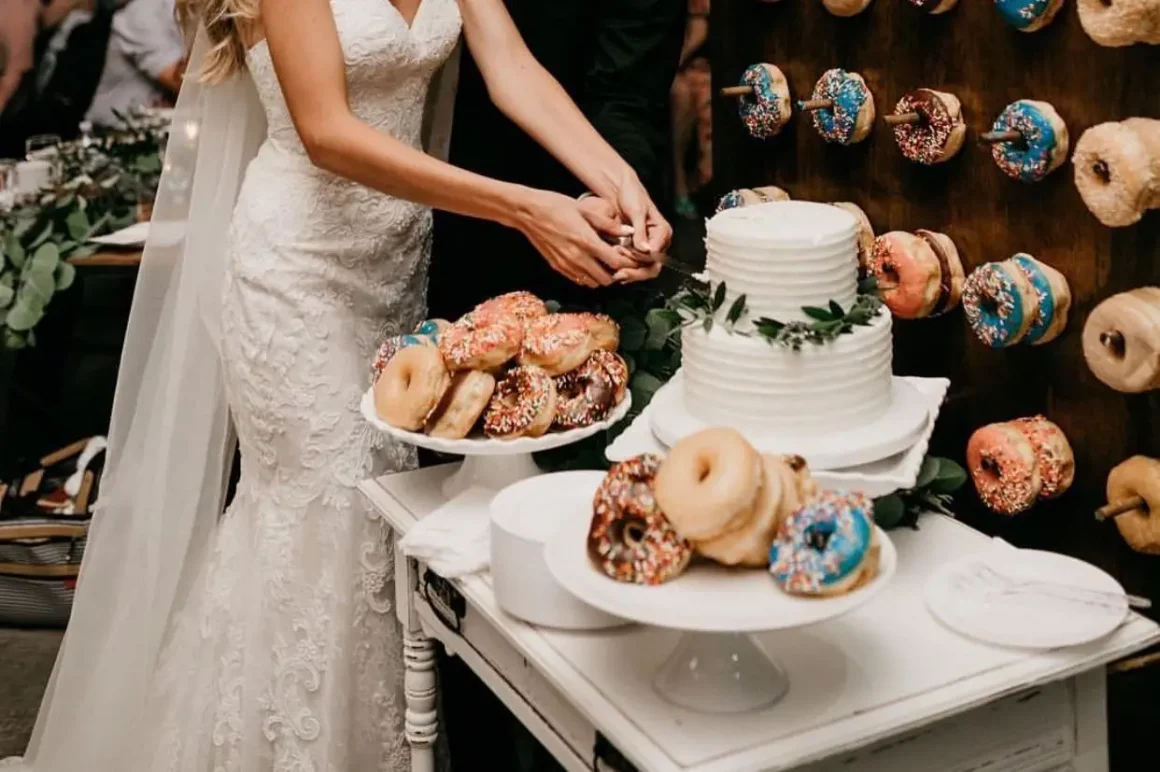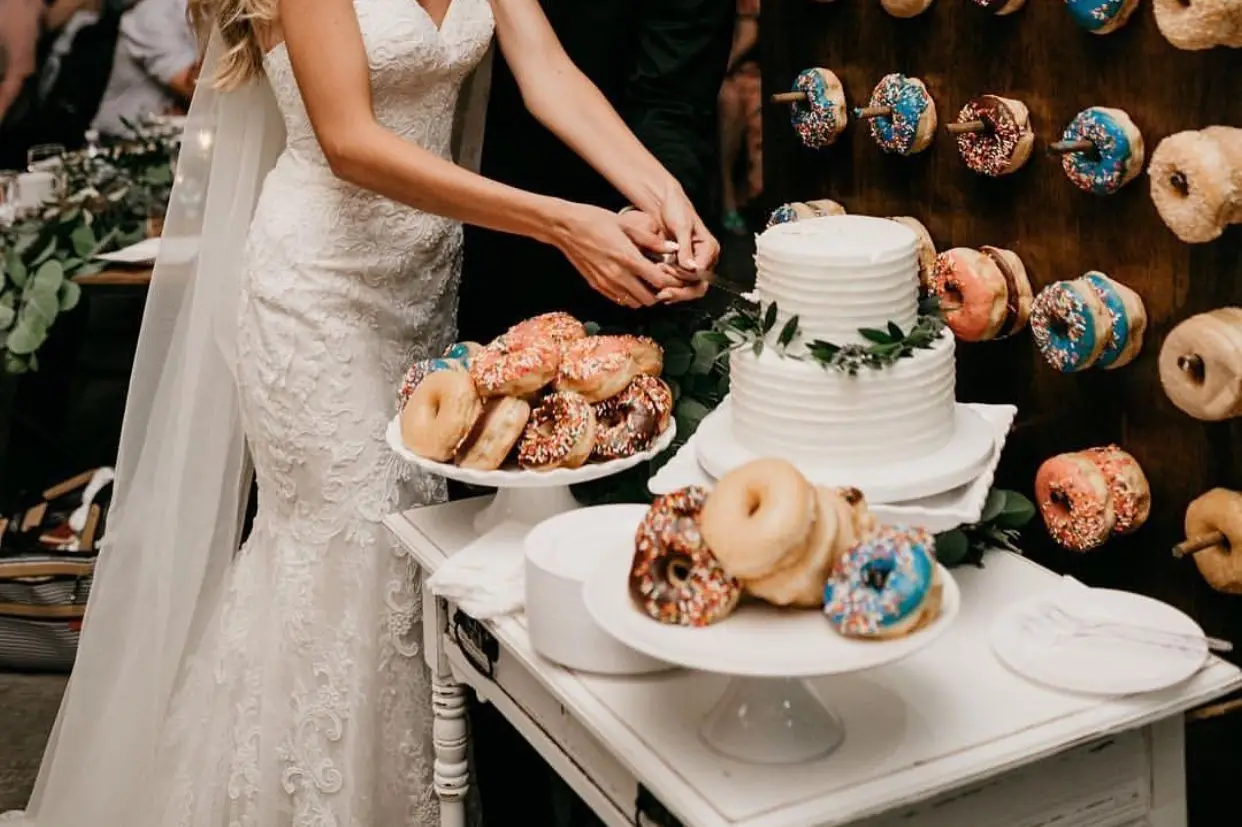
Donut walls are the newest wedding trend and they will make your guests time just a little sweeter. Couples have been opting for dessert tables more and more. You can use a donut wall instead of a traditional wedding cake or it can be an awesome addition to your wedding cakes backdrop. Either way a donut wall is this years wedding must-have! When Shari’s Berries sent me this tutorial I just knew I had to share it with you all.
In six easy steps you are going to have one fabulous donut wall and be on your way to buying some delicious donuts!
Step 1 – Pick a theme, gather supplies and prep the pegboard.
Think about how you will want your donut wall to fit into your decor. Do you want to stick with the exact theme of your wedding or color scheme? Or you could always go with a fun pop of color to make a statement piece and get all your guests attention.
Once you have decided on the look of your donut wall you can start rounding up all the supplies you will need. Here is a list to get you started.
25” x 37” pegboard
Two ¼” x 36” wood dowels
12 – 6” gold paper doilies
12 – 4” white paper doilies
Two dozen donuts
Ruler or measuring tape
Scissors
Pencil
Medium sandpaper
Handsaw
Wood glue
Get your Sand paper out and start sanding any rough edges and clean any excess dust off. If you prefer to paint your pegboard you can do that next.
Step 2 – Cut the wood dowels
Start at one end of the wooden dowel and measure out 3 inches and 4 inches, make a mark at each. Now take your handsaw and cut at all the 4 inch marks. Once finished cutting the dowels you can sand the ends. If you would like to hang more than one donut on a dowel feel free to extend your dowels measurements.
Step 3 – Measure your donut placement
Cut out a 6 inch paper circle and use this as a guide to figure out where you would like your donuts to sit. You can keep your placement in clean rows, patterns or even words.
Step 4 – Insert Dowels into pegboard
Set or hold your pegboard up so that it isn’t flat against anything. Start with a small amount of wood glue on the 3 inch mark. Then, put one dowel in each hole you measured out in step 3. Make sure to push it about an inch through the board to secure stability. When you have all the dowels glued and inserted leave the board to dry.
Step 5 – Add any decor or details
For this tutorial they decided to add some doilies behind the donuts. The doilies will peek out and keep the donuts clean while adding a little touch of color.
Step 6 – Add the donuts
That is all that is left! Have fun with organizing all the different kinds and flavors of donuts.
Huge thanks to www.berries.com for this amazing DIY Donut Wall tutorial
To get more information and tips on this tutorial make sure to head over to their website.
If you are looking for more wedding DIY tutorials, check out this DIY Candy Buffet from Shari’s Berries too!


